DIGICAST OBJECT PHOTOGRAMMETRY PIPELINE
Here we will look at the steps involved in taking a small object, in this example a toy dinosaur, through a photogrammetry pipline to produce an animated 3D asset.

STEP 1: PHOTOGRAPHY
The object is placed on a turntable and photographed from multiple angles with non-directional diffuse lighting. A tripod-mounted DSLR is used, with the smallest possible aperture, long exposure, remote shutter release and a circular polariser.
STEP 2: MESH GENERATION
Photogrammetry software such as RealityCapture, Metashape or Zephyr is used to generate a complex 3D mesh from the photographic sequence.
STEP 3: MESH CLEAN UP
The scan mesh is then cleaned up in ZBrush to remove unwanted elements such as the turntable plate, and to smooth any ‘noisy’ or badly reconstructed areas.
The cleaned-up scan mesh is very dense and lacks a coherent UV map.
STEP 4: RETOPOLOGY
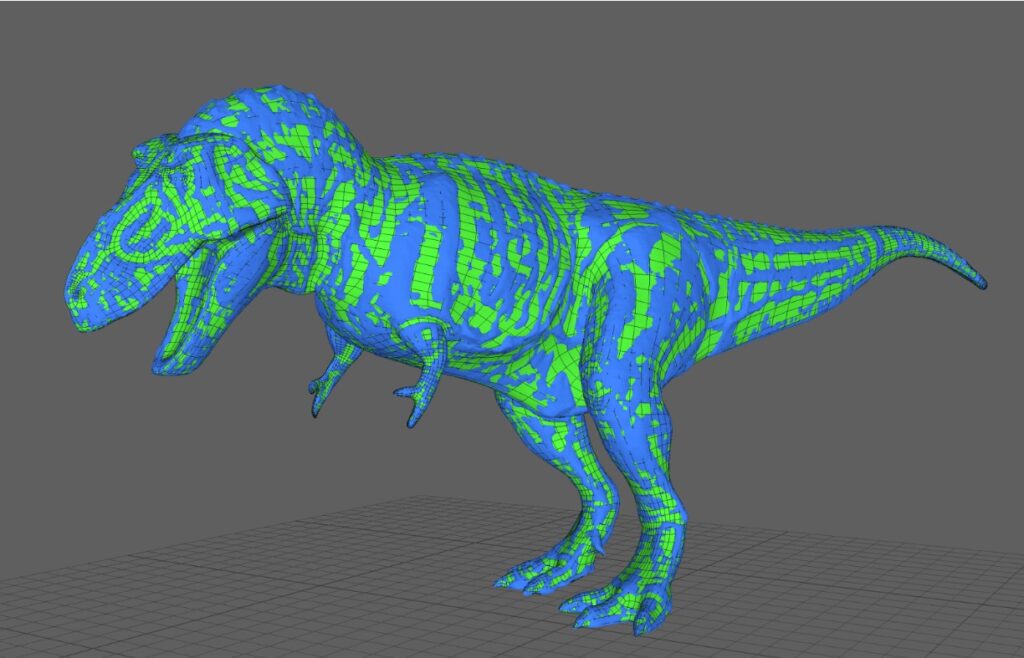
A symmetrical version of the scan mesh is created in ZBrush to provide a starting point for manually retopologising the model in Maya.
Once the retopologised mesh is complete, a coherent and artist-friendly UV layout can be created.
STEP 5: TEXTURE REPROJECTION
The retopologised mesh is imported into Wrap and used as a base mesh to ‘wrap’ around the scan mesh.
The retopologised base mesh now occupies the same 3D space as the scan mesh. This allows the photographic texture information from the camera views to be reprojected onto the mesh. A new texture map is created that uses the UV layout of the base mesh.
STEP 6: DIFFUSE AND NORMAL MAPS
The reprojected texture map is then applied to the retopologised mesh and a normal map or a displacement map can be generated either from the texture map in software such as Friendly Shade Normalizer or via projection in ZBrush.
The coherent UV layout means that any texture flaws can be fixed in Photoshop.
STEP 7: FINALISE MODEL
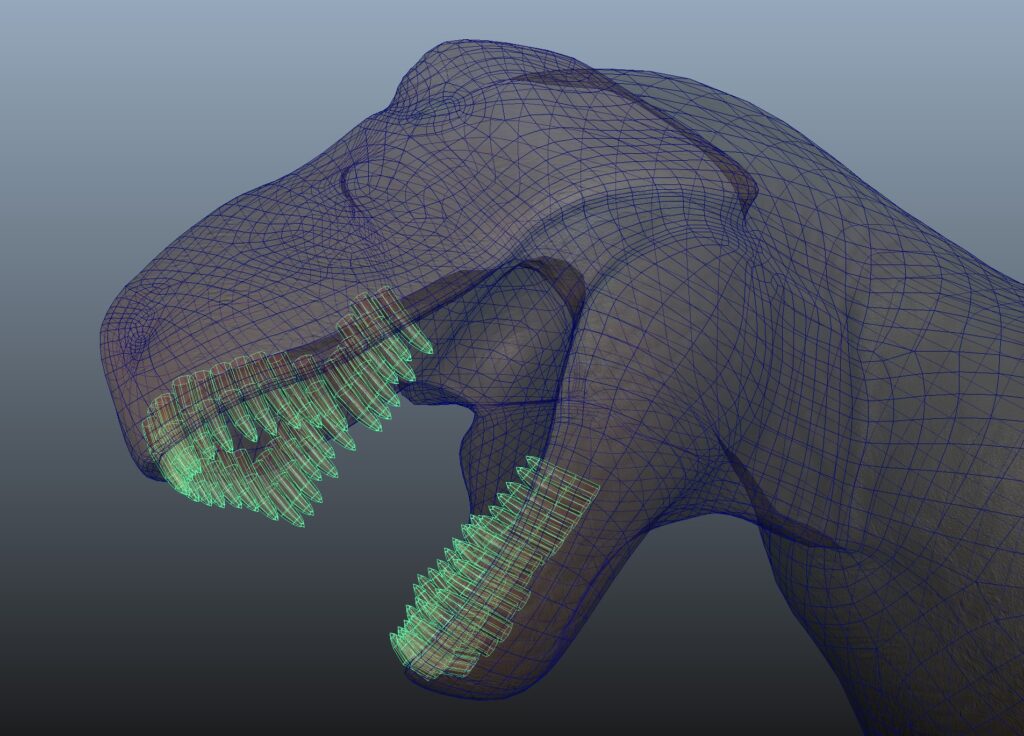
Before moving onto rigging and animation, any geometry that was excluded during the clean up step can added back in. For this example the teeth required a lot of cleaning up and would have been complicated to re-project onto. So it was easier to remove them and create separate new geometry in maya.
Now the model is finished and can be used as is or rigged for animation.
In summary, this process takes a physical object such as a toy or model and produces a close digital replica that can be animated and used as a project asset.


